Thursday, October 25, 2012

Summer Wedding

My cousin got married this summer and I was able to contribute to the festivities by planning their open house!! And boy was I in for an eye opener; weddings are a lot of work. My Aunt was so trusting, I am glad I did not give her a heart attack. I have never planned an open house before. It was good practice for me since I have 3 little girls. In about 20 years from now my husband and I are going to be wedding central, with my luck all my girls will get married at the same time.
 
We had an outdoor open house planned with fresh flowers, delicious desserts, tiki torches, soft twinkling lights strung in tree's; it was going to be awesome until it started to pour :(  I was feeling pretty frustrated that it was pouring rain in the middle of July, rain in July.... since when?!? Come on mother nature cut me a break. Well she didn't so we hustled and moved everything inside and made do with what space we had. It turned out really nice even though my original vision was crushed.
 
I would have to say the flowers were the hardest part, not to mention I didn't have a clue what I was doing. I have no floral experience what so ever. I knew that I wanted to use 3 mason jars as the vase. My Aunt and her daughter whipped out the cute burlap flowers, another inspiration from Pinterest. They used random sized pearls for the centers.
 
 After endless days of browsing online I had a general idea of what I wanted the fresh flowers to look like. Fresh flowers are tuff because you can't play around ahead of time and get an idea of what you want to use or how many stems you need. It's a guessing game. The morning of the open house I started arranging and after a few tries came up with this
 not bad huh!
 
 I really quite enjoyed it after I got the hang of it. Here is my happy row of flowers :) Well I guess the flowers weren't so happy but I sure was.
Don't they look awesome!

I knew I wanted to stamp the bride and grooms established date on the burlap table runners but was not quiet sure how I was going to pull that off. I asked my sister, the AMAZING graphics designer, to design something for me. She made me a stencil that I could re-use on all the table runners, pretty nifty. I love the personal touch that it gave to each table.
 
Here is a really crappy picture of the cool sign I made for the bride and groom, why did I not take a better picture?? I have been asking myself that same question for days now. It was a really fun sign to make. I used the paint and wax method. Where you rub candle wax on the area's that you don't want the paint to stick to, then you sand the paint off the waxed area's after the paint dries.
Let see what else can I show off.......

Sorry, here is another horrible picture, I hate taking pictures indoors.
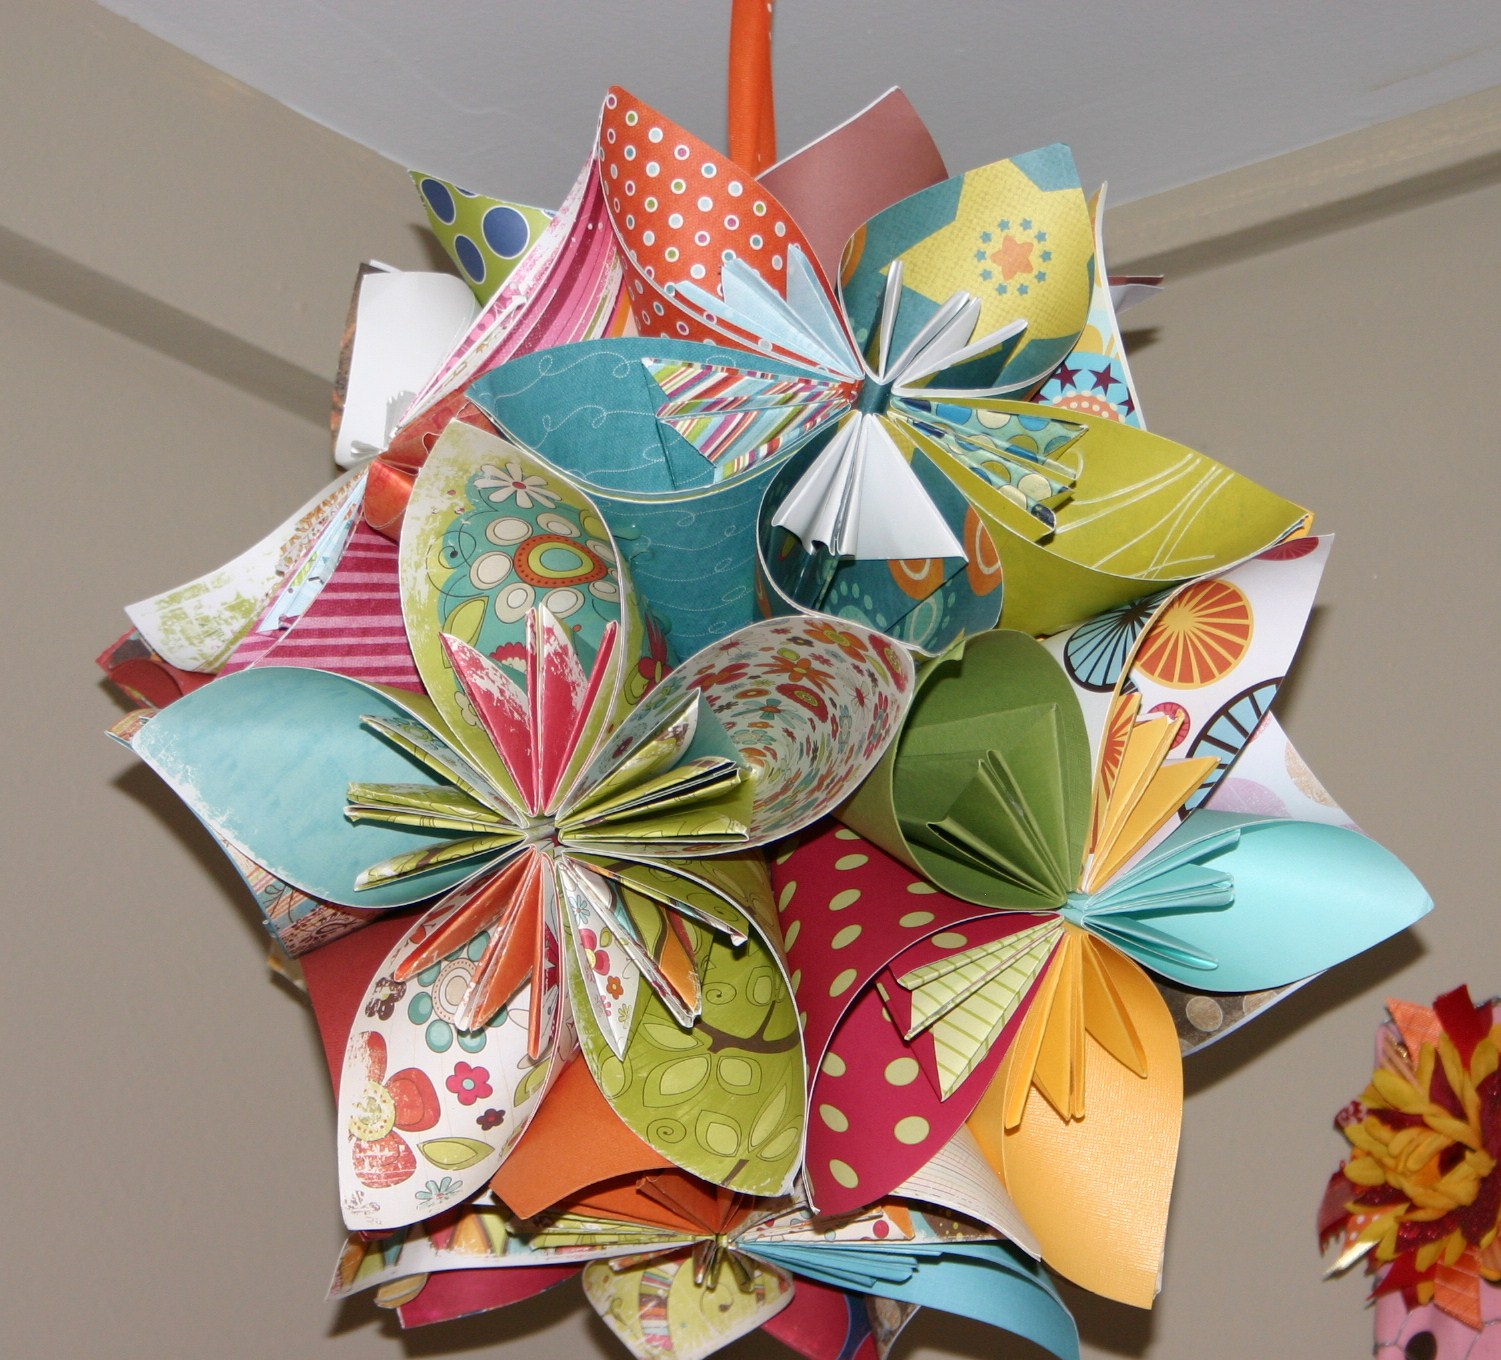
These are the tissue paper flowers that we made to hang in the tree's, of course that was before mother nature had her way with the weather. So we found another use for them and tied them to the stair railing.
 
 
This is a picture of the dessert buffet.
My sister made the gourmet cheese cakes, they are to die for. We also served chocolate dipped strawberries, brownies, cream puffs and cake.

 
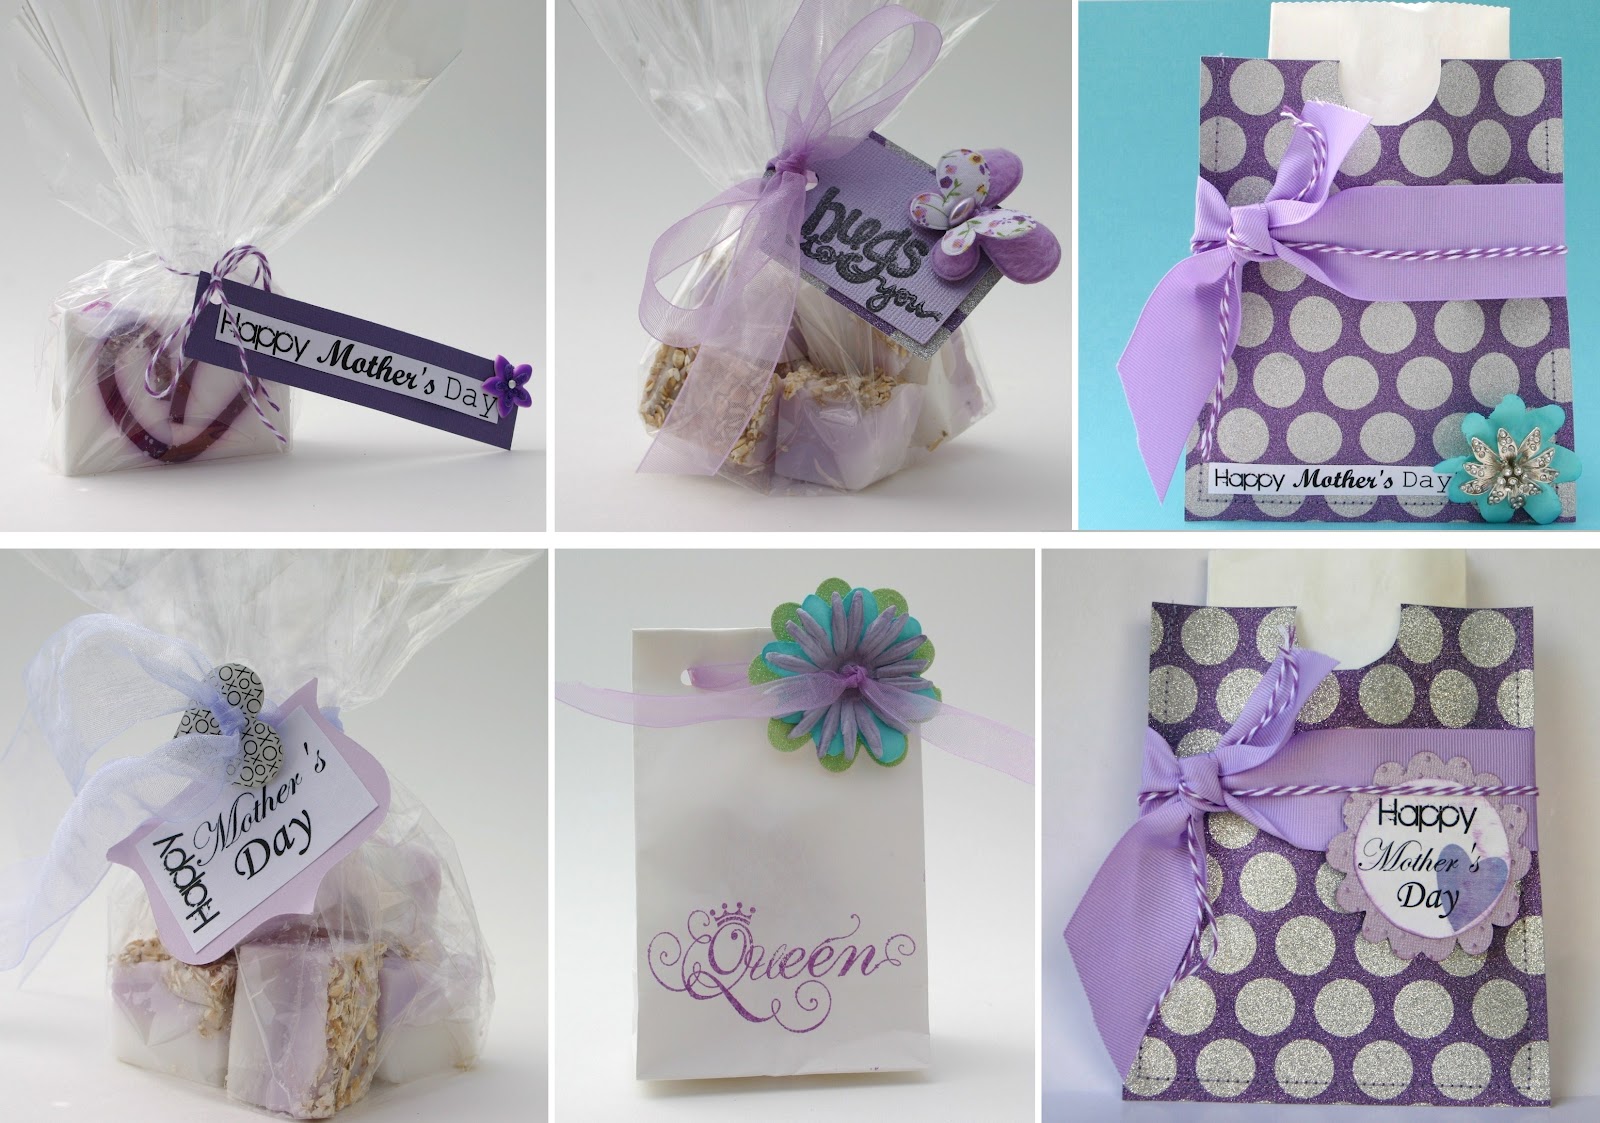
Here is the favor table. More cute burlap flowers, vanilla taffy's in brown paper bags tied with twine and lots of crystal candle sticks.
      
 
I had a little too much fun making signs with the bride and grooms names on them.
 
And there you have it, our summer open house!!

Wednesday, September 5, 2012

Oven Mitts

These make awesome hand made gifts. I made 6 pairs last Christmas for neighbors, friends and family. I have been trying to give handmade or helpful gifts this year with this lovely economy. You can get a free PDF with the instructions at www.youcanmakethis.com/info/free/free-make-an-oven-mitt.htm. They turned out really cute. I used several different pattern combinations, I had even wanted to have the family's last name embroidered on the wrists of the mitt but ran out of time. Make sure that you plan ahead with this project especially if you are making more than one set.

This is a pretty easy sewing project, trust me I cannot sew worth crap and I was able to make 6 set's!

Tuesday, June 5, 2012

4th of July Wreath


After seeing Landee's awesome wreath last year I just knew that I had to have one for myself! Check Landee's out at her blog Landee See, Landee Do. It was super simple to make and has endless possibilities! My sister and I both made one with the same supplies and used our own personal style and they both came out entirely different. We used styrofoam wreaths and small pins to hold the ribbon on so nothing is permanent, if you get sick of it you can remove everything and change it up! I'm thinkin I may have to make a similar one for Halloween. Luv it!

I can't wait to get out my firework jars that I made last year too!


Now it's time for some inspiration!!

Of course I had to show of Landee's wreath!


Don't these look yummy! Check them out at Tidy Mom


You have to check out The Hostess With The Mostess. Tons of great party idea's

I found these at An Altered State of Mind, these would be cute party favors.

Uh, yum. Theses are from the Noble Pig

I'm kinda thinkin I might be hungry right now because I'm posting all food pictures.
It's just that everything looks so yummy!
Check these strawberries out at Cupcakes Kisses 'n' Crumbs

 My sister made these strawberries last year and they were really good!
Visit Grin and Bake It for the instructions

Living Locurto, My kids would love these

I made these last year and they were a big hit! My advise to you is start looking for
blue jello before the 4th of July. I ended up going to 6 different stores last year on 
a blue jello hunt. Check out Brown Eyed Baker for the recipe.

4th of July chalk at From Glitter to Gum Drops

This cute popcorn pail is from Bloom Design, don't forget to vote for her at Circle of Mom's
she has a link where you can vote at the top of the blog post.

This list could just go on and on, there are so many creative idea's out there. I hope 
you enjoy these few.

Happy 4th of July everyone!!

Monday, May 21, 2012

Giant Origami Flower

Want to see what happens when you have a little time, okay a lot of time on your hands and a bunch of extra scrapbook paper??

This thing turned out to be even bigger than a basket ball! I have it hanging in my craft room so that I can admire my work every time I am crafting. I am so full of it! Okay it's the truth I do find myself staring at it sometimes. Each petal of the flower is 1 piece of 12x12 paper so ya it took a lot of paper. If you are like me and hoard scrap booking supplies this just might be the craft for you. Just make sure you have lots of glue sticks on hand.

I made a smaller one too.
For this one I cut 12x12 sheets of paper into four 6x6 squares.

For the life of me I cannot find the instructions for this in my craft room, I guess
I am not as organized as I thought. I picked up the instructions a few years ago
from a local scrap booking store in Salt Lake City.
After doing a little searching on the web I found a video on Shine from Yahoo
that shows how to make each individual flower you can view it here.
In the video they used tape to hold the flower petals together.
 On mine I used hot glue because I did not want to have the whole thing fall apart
 before I was done making it. In the video they make one flower so
 if you are going to make a ball you will need to make 12 flowers and then
glue them together creating a flower ball. Don't forget to glue
a ribbon in the center if you want to be able to hang your giant flower.


Monday, April 30, 2012

Mother's Day Gifts

It's almost Mother's Day! It's time to get my crafting on... I needed a little inspiration so I stopped by Michaels Craft store a few day's ago. I ended up finding so many idea's it was hard to choose just one. I do have a passion for making soap so I grabbed a few soap supplies and some super cute paper while I was there. Then headed home to create a Mother's Day gift.

  I decided to make lavender oatmeal and apple heart soap. They turned out really cute and I am so excited to give them to my Mother!!


Supplies needed:

clear glycerin soap (Michaels)
white glycerin or goats milk soap (Michaels)
fragrance for soap (Michaels)
soap coloring
large plastic or glass measuring cup
tin foil
bread loaf pan or loaf sized container
mixing spoon
cheese grater
cutting board
knife
a small spray bottle filled with rubbing alcohol
oats- if you are going to make lavender oatmeal soap, I chose to use quick oats instead of regular because I wanted my oats to be a little smaller

**Michaels also carries soap making kits with all the soap supplies needed in them**

Start out by forming a piece of tin foil into a square by pinching the foil to create sides. I learned this on YouTube, super handy trick!
Place cut blocks of clear glycerin in a large measuring cup. Put the measuring cup into the microwave and microwave soap in 30 second increments, stirring every 30 seconds until the soap blocks are melted. Next stir in your color and fragrance, pour melted soap into foil form.


You want to wait until the soap is hard enough to form into a heart. Keep you eye on it because it hardens really fast. I had to re-melt mine a second time because I waited too long. Once it is firm enough to handle but still warm and flexible remove the foil. Trim a little off each end so that it fit's  into your form. Keep the extra soap that you trim off for later. Roll each end into the center to form a heart shape. Make sure that your finished heart is not taller than your form. Set aside.

Next get your cheese grater out and start shredding soap. I shredded a bar of white glycerin and the remaining soap that I trimmed off before I made my heart.

Next melt almost a whole container of white glycerin depending on the size of your form. I stacked cut bars of glycerin in my container to get an idea of how much I would need, don't forget to take in account the space that the heart will take up. To much is better than not enough. Pour a small amount of melted soap into the bottom of your form and place the heart into your form and hold in place until it stays by itself. Make sure your soap is not too hot or it will melt your heart and make a mess. Once your heart will stay in place spritz it with the alcohol to help the soaps stick together. Then fill the rest of your form until the heart is totally covered in soap. Make sure to pour your soap slowly so that it has a chance to fill the inside of the heart. Gently tap the container once it is full.

Spritz the top of the soap with alcohol again. Now sprinkle your soap shavings on top and gently press them into the melted soap so that they will stick when the soap cools.


Wait a few hours or even over night before removing soap log from form. If you used a plastic container gently pull sides of container away from soap, next turn the container upside down and put your hand underneath the container to catch the soap. Gently shake out the soap. If you are using a bread loaf pan run a knife around the edges before you turn it over and shake out the soap. It does help to put your soap into the freezer for a few minutes before trying to remove it from it's container. Some of the shaving from the top will fall off, that's normal.

Now you are ready to cut your soap, yea! Put your soap on a cutting board, trim off a small amount of each end first. Next cut bars into your desired thickness.

I had to take lots of pictures of my pretty soap when I was done, I am so proud of it! 


Here is the Lavender Oatmeal soap:)
  For this soap I used goats milk soap. I made 2 layers, one white and one purple. Make sure to spray the soap with alcohol between layers. I also added lavender fragrance, which smells really good. Sprinkle and press oats on to the top of the soap log before it cools.

Now for packaging....

The purple and silver polka dot paper is from Michaels and do I love it! I also grabbed small white paper bags from Michaels, they are in the wrapping section.

I saw a similar idea on Pinterest and decided it would be perfect to put my soap in. 
Cut your paper in your desired size and sew 3 edges making a paper pocket. Embellish however you want! These paper pockets would also be really good for chocolate candies, hint-hint. Don't all mother's love chocolate?!?

Happy Mother's Day
I hope someone spoils you too!

Saturday, April 21, 2012

Elastic Hair Band Holder

The other day I came up with this brilliant idea.... 
With 4 girls in the house I have hair band issues, hair bands EVERYWHERE.
So I grabbed a couple binder rings and threaded all our hair bands on to them, 
snap them closed and voila, problem solved.
 It is so much better than a continer where you grab for 1 band and 
end up grabbing a few or spilling them all over.

This was my solution :) and I love it!
 I should almost rename my blog being organized to keep my sanity
because that is all I do any more. Oh well being organized makes me happy too!


back to top