


I came up with these cute fireworks after being inspired by Martha Stewart.
I made quite a few changes of my own but you've got to give credit where credit is due.
Tools needed:

I choose to use 12x 12 glittered card stock for my fireworks, you can use whatever makes you happy.
I picked up red, blue and teal from Hobby Lobby. 1 12x12 sheet will make you 4 fireworks.
Start by cutting the card stock in half making 2-12x6 pieces.

I used a rotary cutter instead of scissors to make my cuts, either would work. Make 1/4 inch cuts leaving around and inch at the top uncut.

I slid my stick between a few layers just to show you what the cuts look like.

Here is the back side, its a little easier to see whats going on here without all that glitter.


Now cut that piece in half again, making 2- 6x6 pieces.

Pre-curl your paper before you glue it on the stick, very helpful step!

Use a shish kabob stick and super glue the paper around your stick. Just glue and roll as tight as you can.

Here is what it looks like when it's all rolled up.

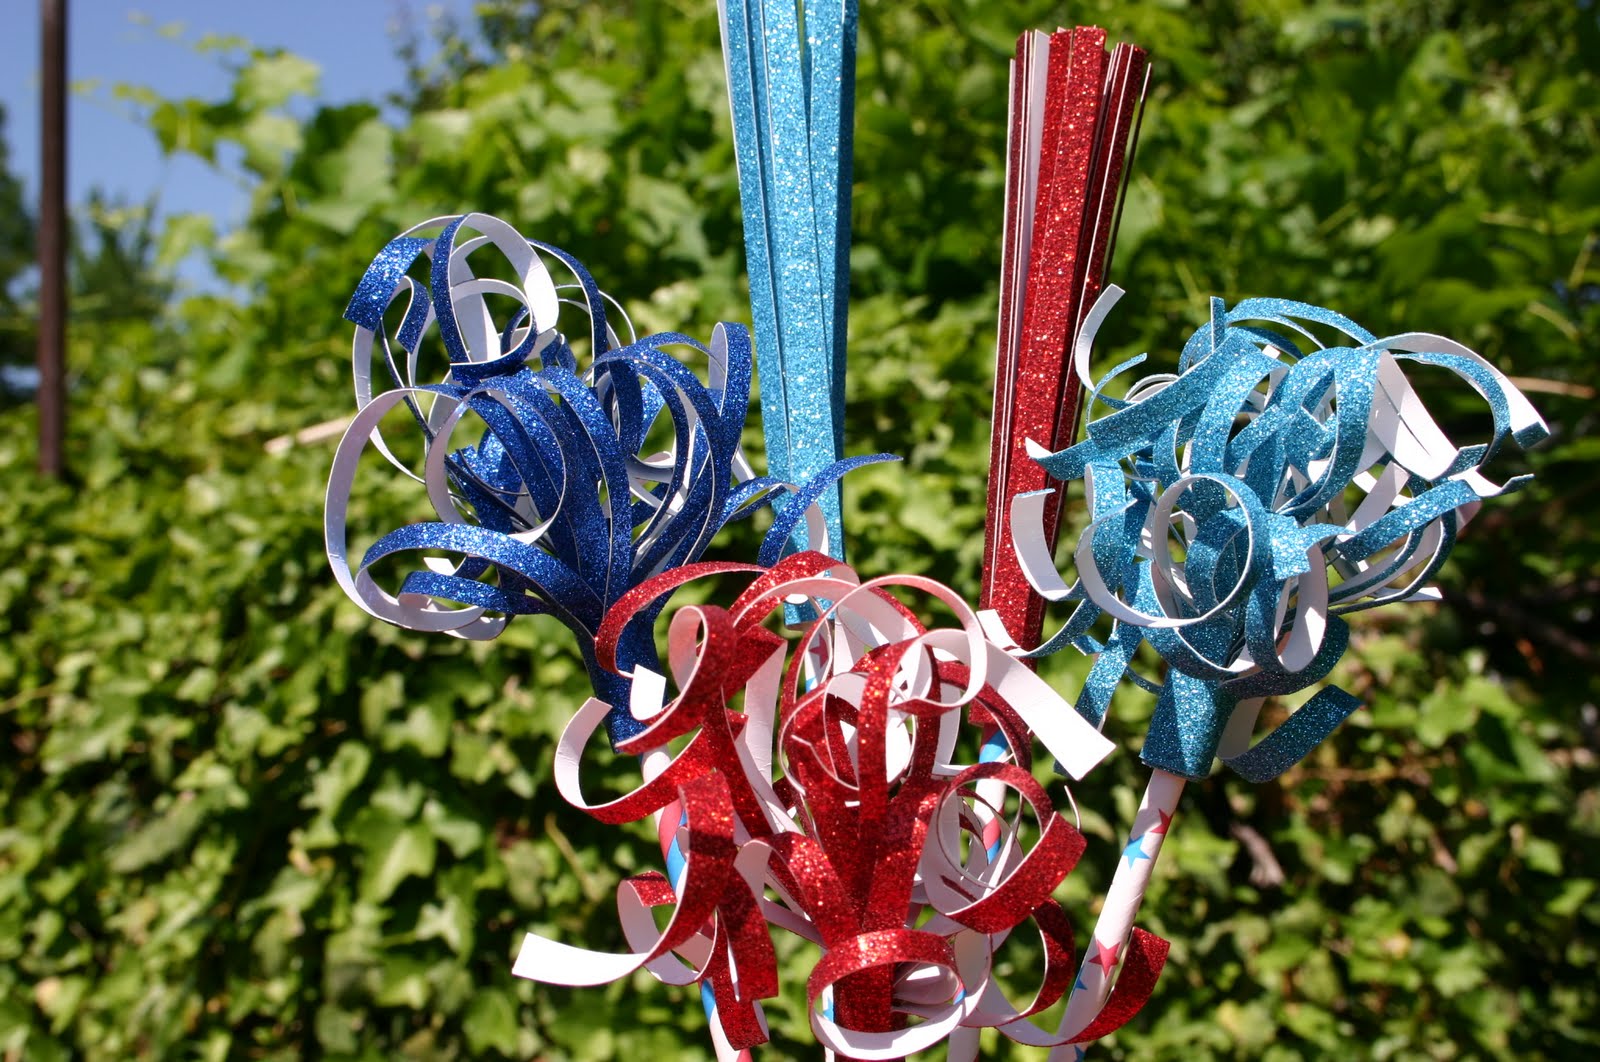
I left some of my fireworks straight and I make some of them curl. Use a pencil or a pen and wrap the paper strips around it to make the curled effect.

Fireworks!!

Next I filled my jars 3/4 full of sand, again anything you want to use will work. I like that sand is heavy and my fireworks ,hopefully, wont fall over.
I ordered these cool 4th of July straws from Isakay Boutique on Etsy.
I choose red & blue stars and red & blue stiped straws.


Take a straw and slide it onto your stick before you put the firework into the jar.

I put 5 fireworks into each of my jars.**update: I added a cute metal pinwheel to the center**
Now to embellish your jar. I cut 2 circles out with my Sizzix.
I ran the white circle through my crimper. I also cut out a star with one of
my little star punches. All this can be done by hand if you don't have the right tools,
well except the crimping.

I used hot glue to glue the ribbon around the jar.
Just glue the backside not all the way around because it will look funny.
You can use tape if you want to reuse your jars later.
I did not want the ribbon to come off while being moved so I used hot glue.

Now you're done!! What an awesome 4th of July center piece.
I sure am excited to use mine. I actually made 5 jars for
the party we are having next weekend.


Here is where my inspiration came from Martha Stewart.
They used vellum on theirs. I was after super sparkly that's why I choose
to use sparkly card stock. Like I've said before "whatever makes you happy".

I hope everyone enjoys their 4th of July. I will be living it up because
it is my last year to be in my twenty's, that's right
I will be 29 on the 4th of July, {sad sigh}.
I think I would like to be 20 forever, who wouldn't. Okay enough with the pitty party.
Happy 4th!


These are so charming!! I love them so much, I'm going to share them on my crafty facebook page : )
ReplyDeleteJaimee @ craft-interrupted.blogspot.com
Hi! I got your question about my link party buttons and wanted to reply but your email isn't connected to your comments...sorry I have to answer here! Anyway, I had seen a tutorial on how to make a link party collection here:
ReplyDeletehttp://madiganmade.blogspot.com/2010/08/work-smarter.html
And I just followed the directions! Hope that helps! Cute 4th of July centerpiece, by the way!
These are sooo adorable! Love the tutorial and I think that they are cuter even than Martha's love the curls and the glitter paper! Thanks for sharing with my Pink Hippo Party and I am our newest follower!
ReplyDeleteHope you will stop by again and enter my giveaway for a book purse!
LOVE this, so great! I love the tutorial, so clear, thanks for taking the time to explain the little details!
ReplyDeleteI'm your newest follower, can't wait to read more! Come check out my blog, www.barefootbysea.blogspot.com
Jessica :)
These turned out really cute!
ReplyDeleteThanks so much for visiting and following along :)
Hannah
Cute and easy. I love it! I'm your newest follower from Homemaker on a Dime's blog hop. I hope you'll come by mine, too!
ReplyDeletehttp://www.meldreamsoften.com
I LOVE THIS!!!
ReplyDeleteHow cute! I love the way you curled some of them! I'm so glad you shared them at the Tuesday To Do Party! Have a Happy 4th!
ReplyDeleteSmiles!
Jami
Oh my goodness those are so super cute! I wish I had that talent:)
ReplyDeleteJodi